
Thanks to Frankie Brown, and to Curt (curtislv426) for making this one possible.
Battle Cross was a game that started it's life out by not existing. Before Battle Cross, there was Missile Command. I don't know much about it's life as Missile Command, but I do kinda know the rest of story.
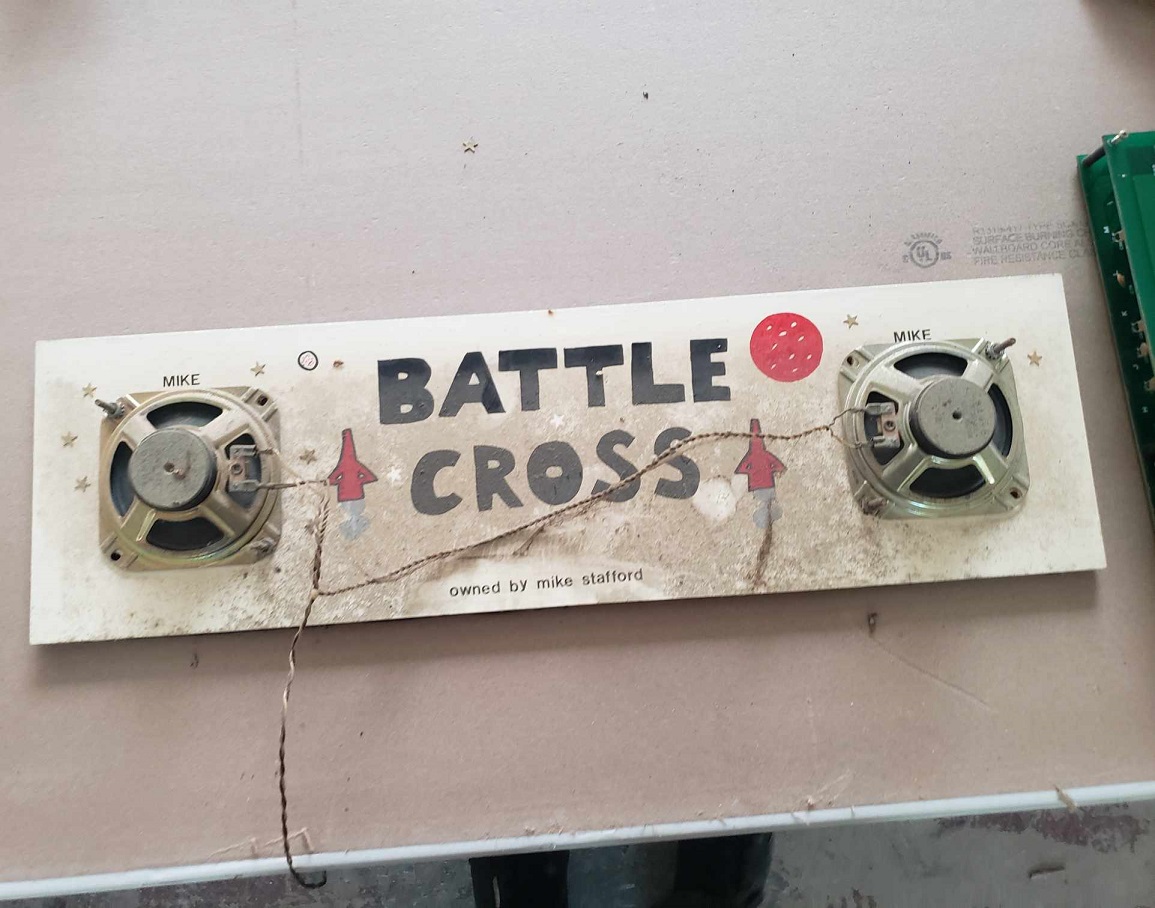
A construction contractor, Mike Stafford, had converted the Missile Command in '82/'83 to Battle Cross. It's absolutely unclear where the board was obtained from as Omori stuff is very very uncommon in the States. As he operated the game in a bar, he eventually sold it to a friend and co-worker where it sat in a living room for 15 years. Eventually, it found it's way to a flooded basement, which is cool and good.
It was put up to eBay back in 2021 in this condition for 2000 dollars.
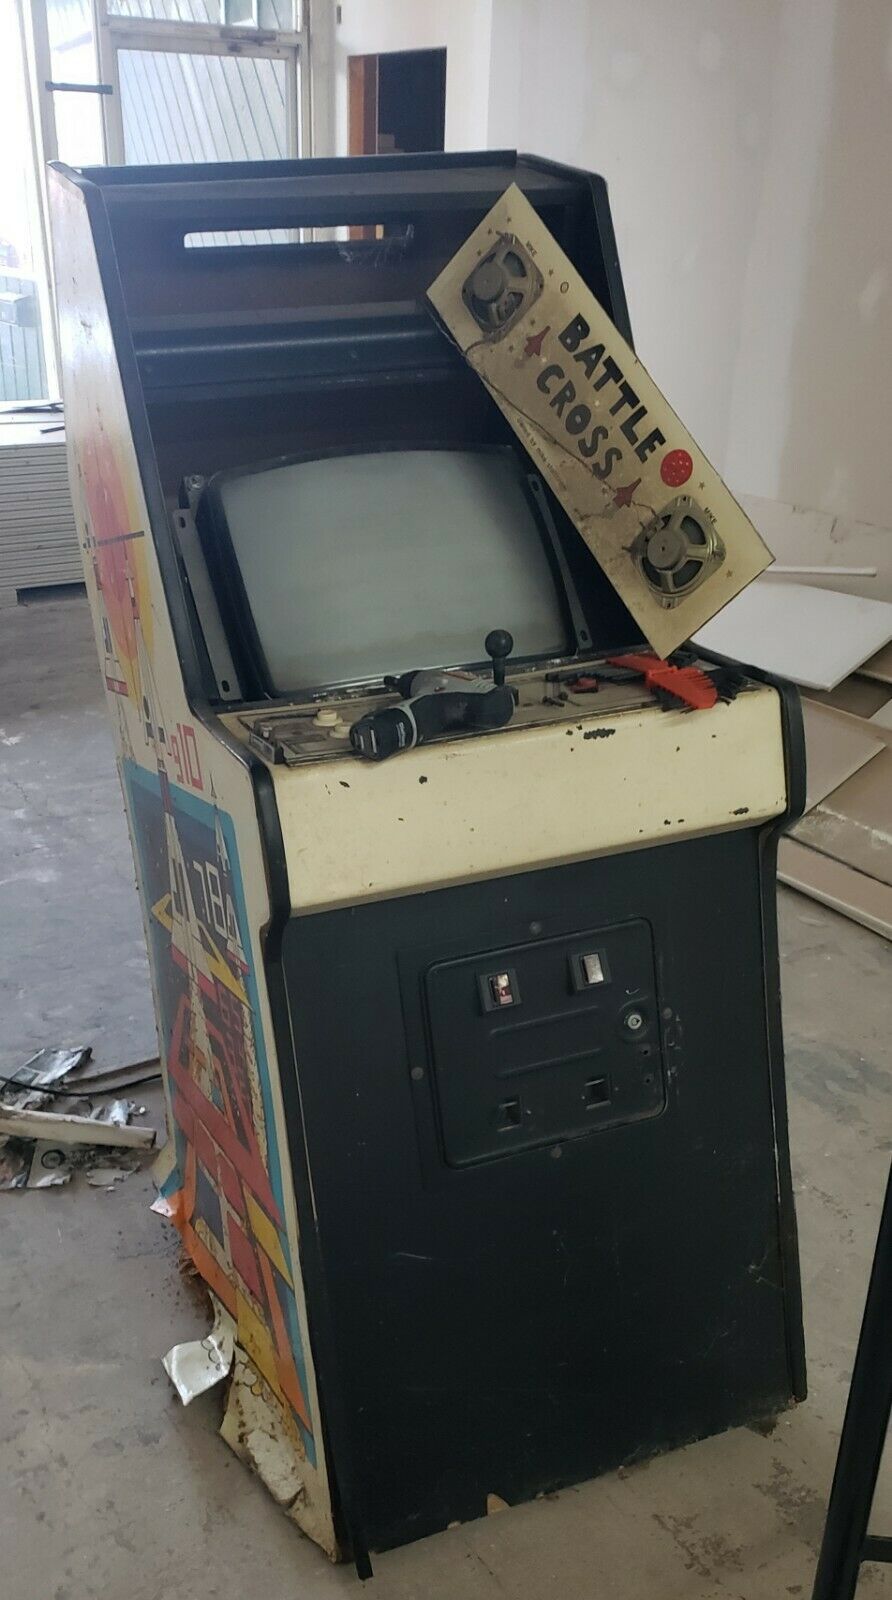
Very nice. Well, judging from the Missile Command burn, maybe it was late into the '80s that it was converted. I can't imagine a game like Battle Cross would be in it's prime too long after it's release. So we've got a trashed waterlogged cabinet with a Battle Cross board, and that marquee is amazing. However, this was before I grew a brain and sent offers to the sellers of listings like this asking if they would take a reasonable (200 dollar) offer. Turns out, someone did that for me. The eBay seller sold it all at a garage sale for 50 bucks.

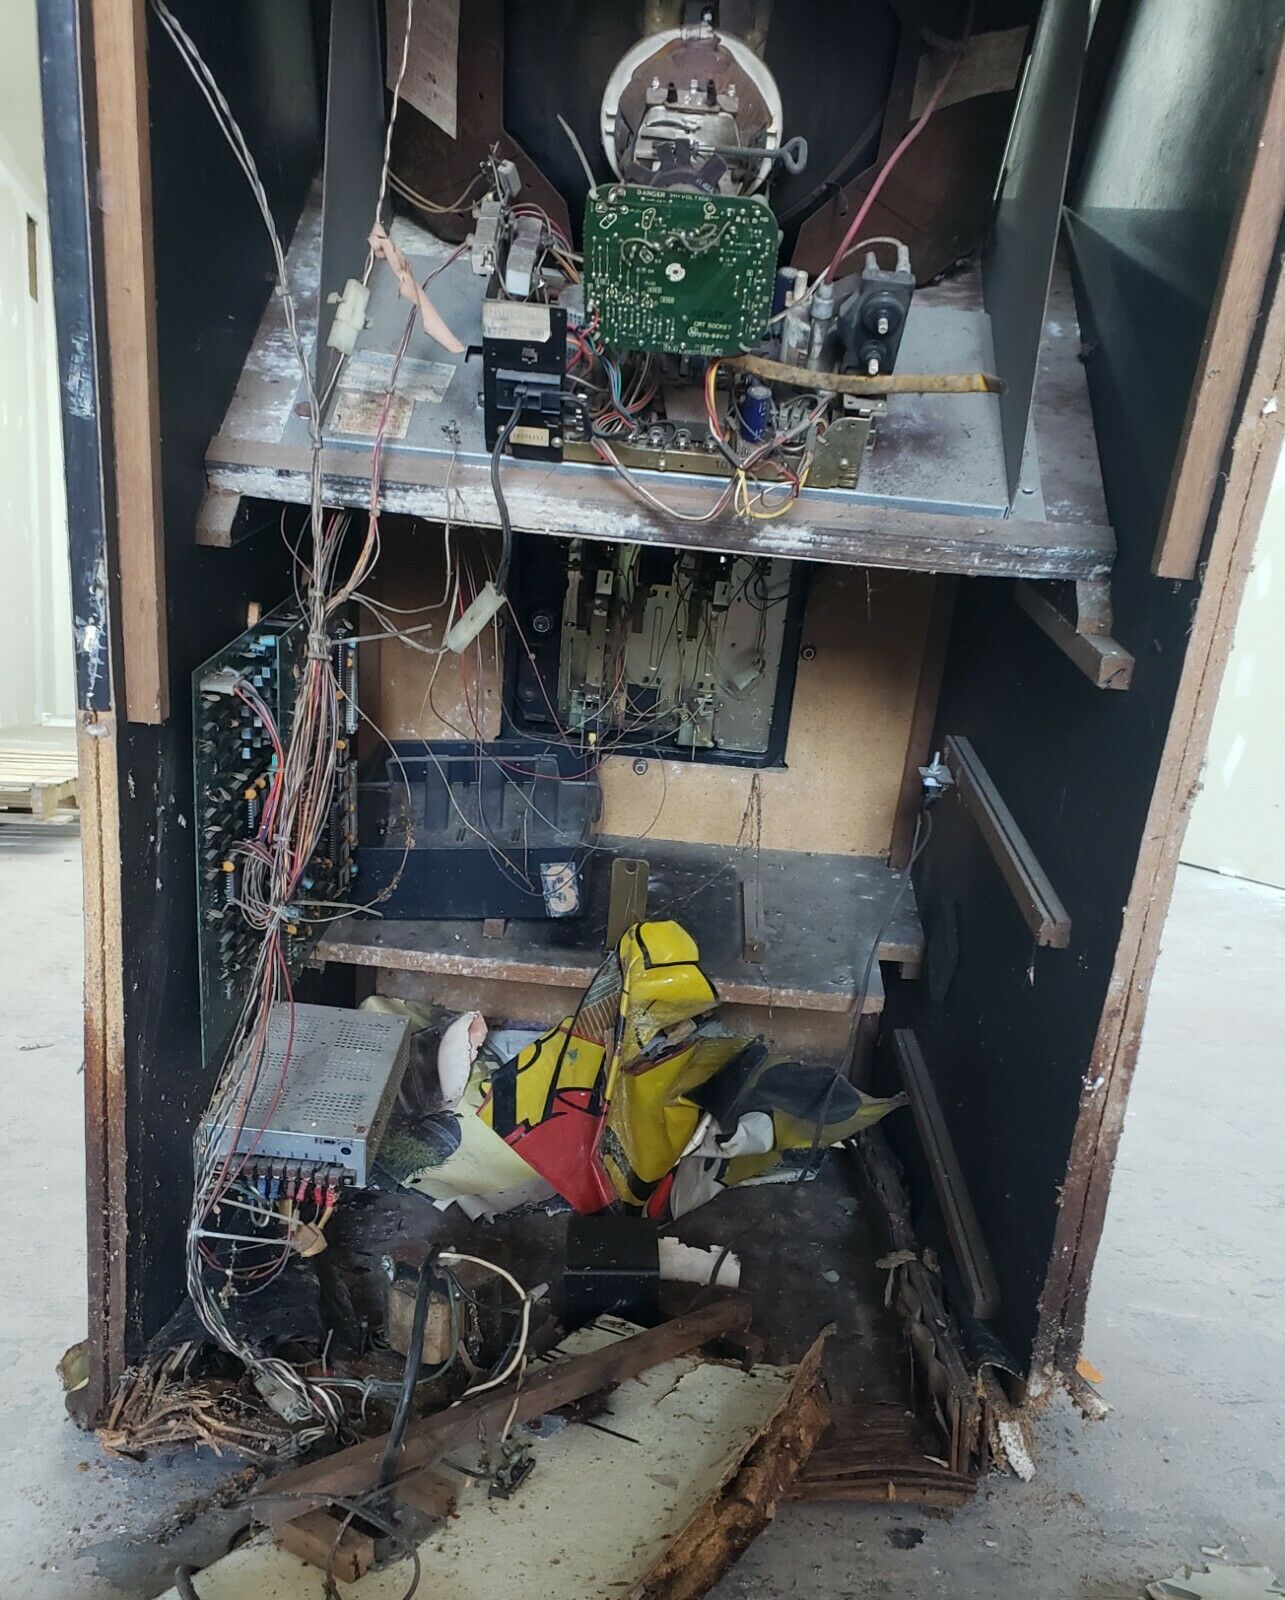
The buyer took the parts, as the cabinet was totally unsalvageable. But somehow after everything, the boardset was still functional. And the seller knew this, and still sold it for 50 dollars. The buyer had planned on finding an Omni cabinet in the Universial style to plant this boardset into, which was honestly a really good fit for a game like this. I reached out to him expressing interest in the parts if he wants to pass on the torch. A few years passed, and in 2024 we worked out a deal for the parts.
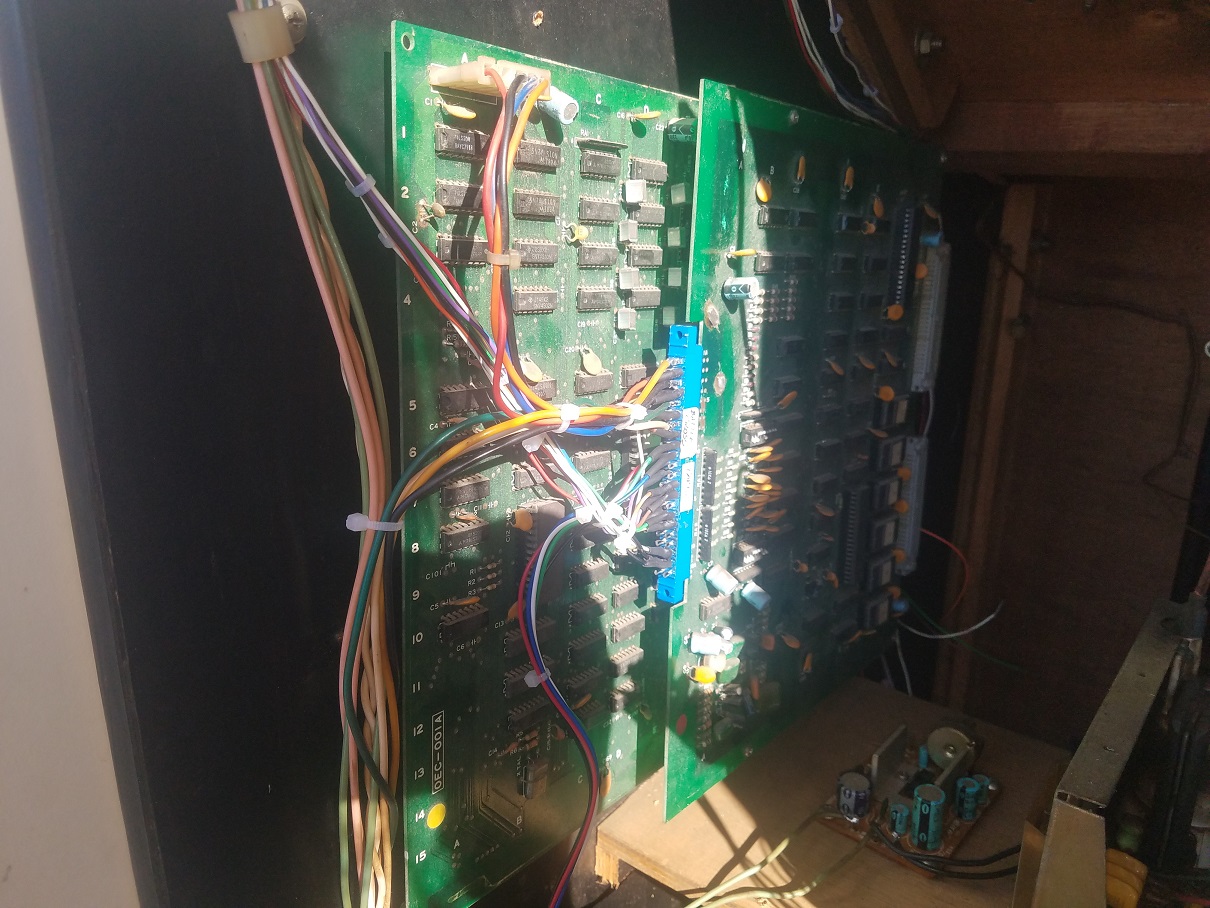
That's the big hurdle. For a situation such as this, continuing the project really isn't feasible without the logic board. There are no FPGAs, or any other ways to play it unless it's MAME. And guess what MAME doesn't emulate correctly? You guessed it. Even if it did, I'm not putting a personal computer in an arcade cabinet. But speaking of cabinets, I now need to find one that will work for me. Really anything bootleg-esque will work for this. Not too long after I acquired the board, I struck up a deal to get this cabinet.
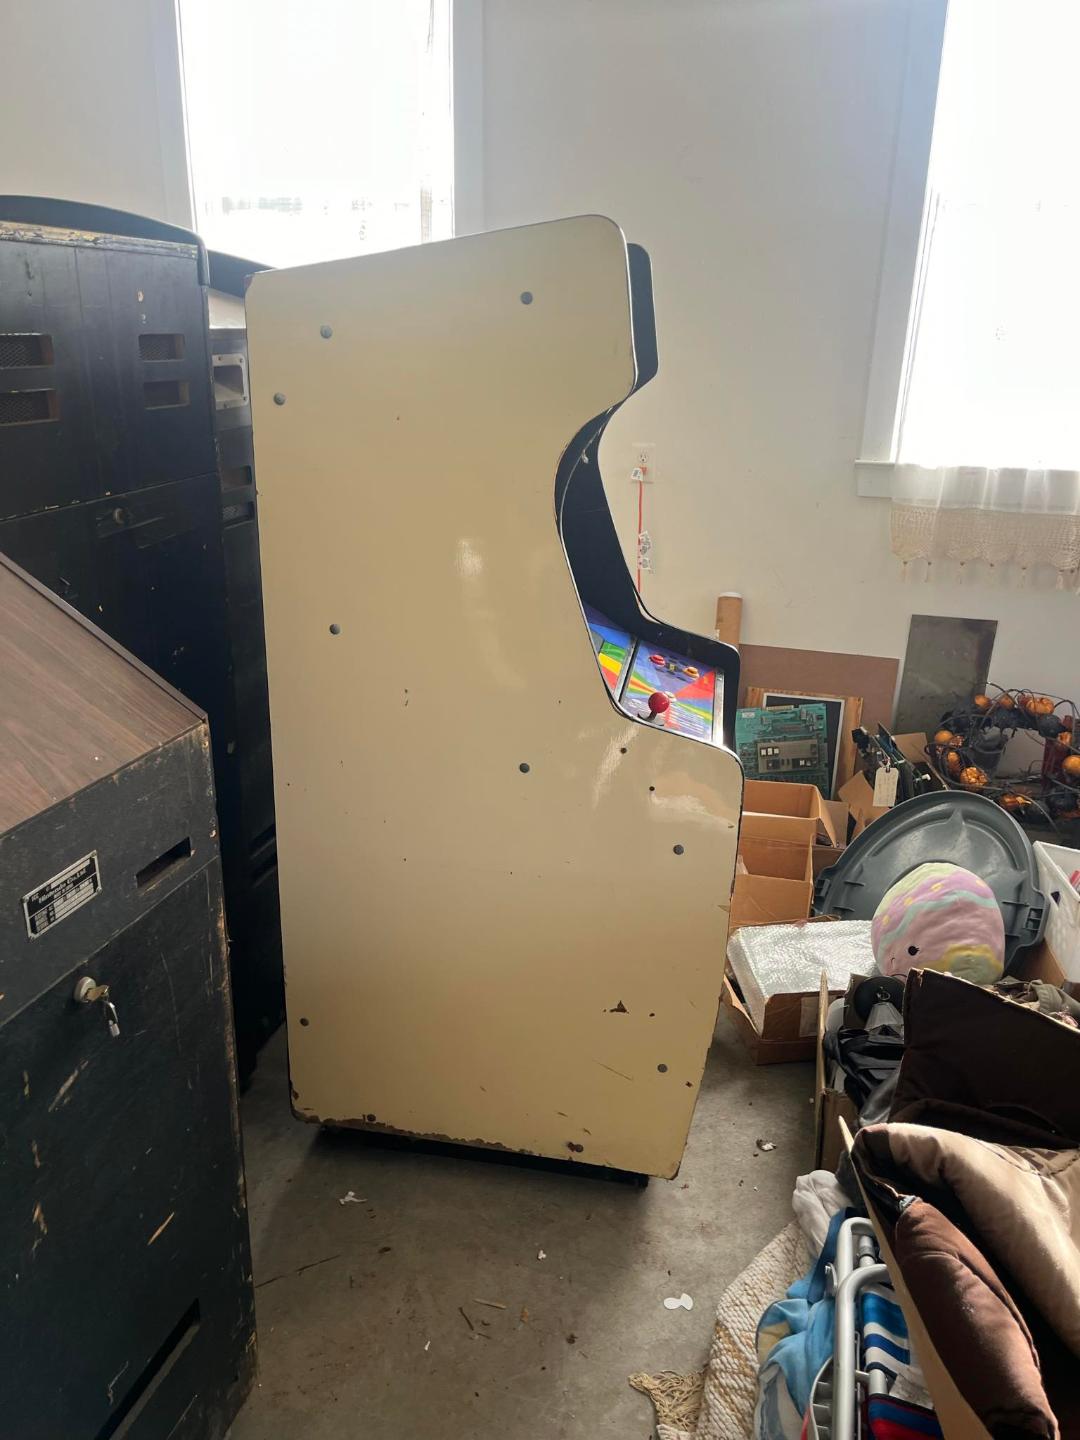
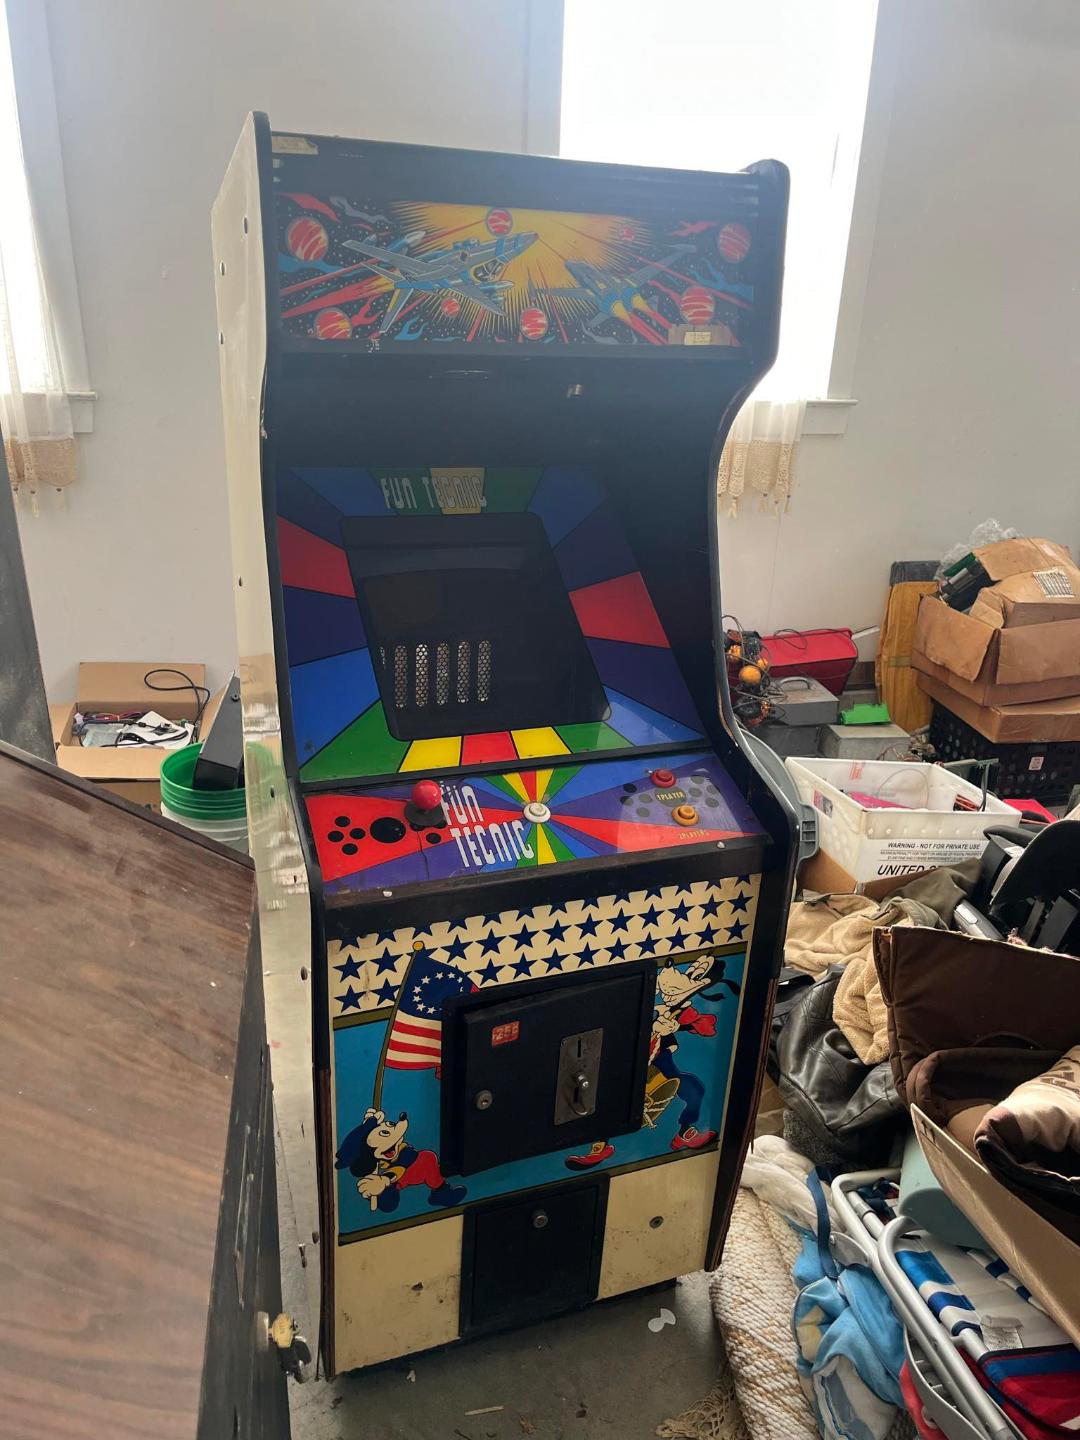
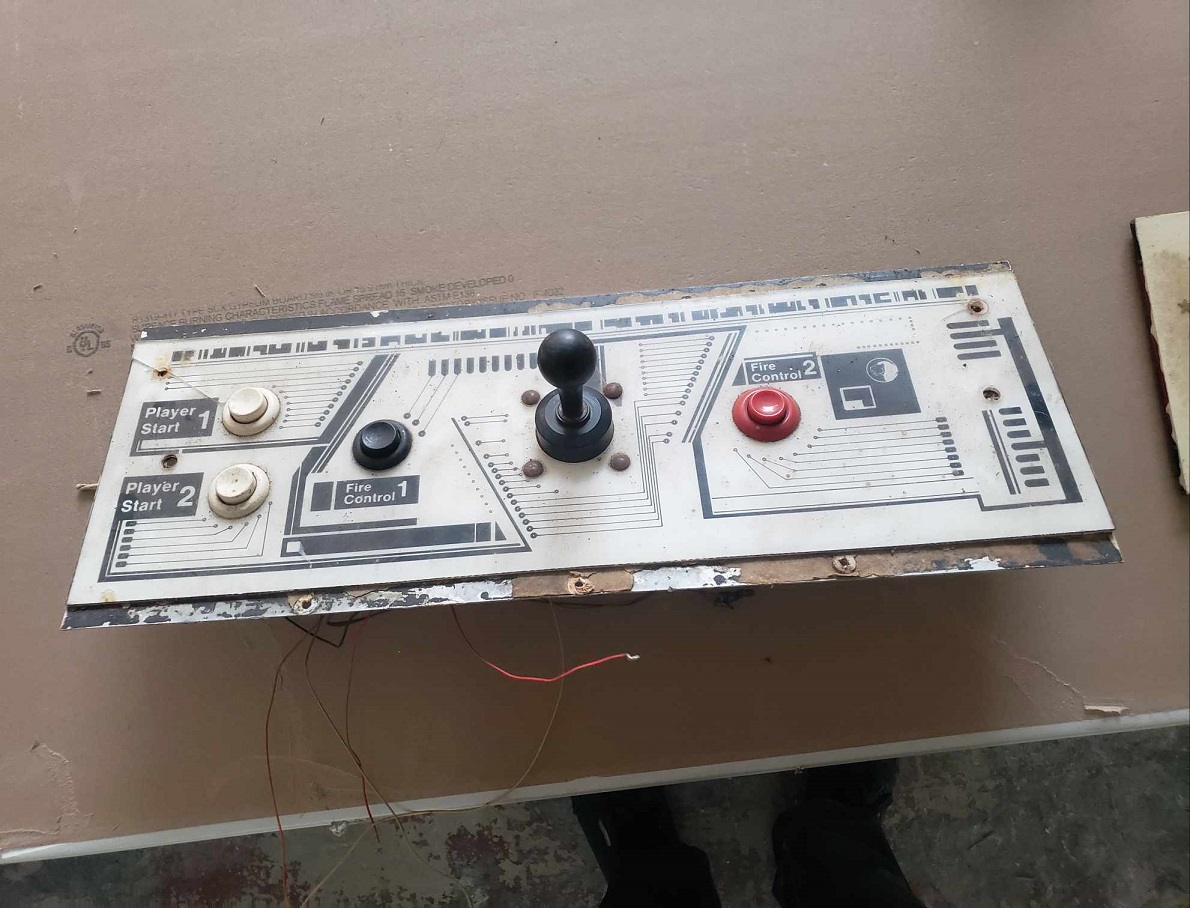
Look at this amazing cabinet. Look at the coin door artwork. You could not make it more perfect if you tried. The "LS" bracket makes me think it's an Artic cab, but I've never seen one with Temu Mackey and Groovy celebrating the Bicentennial era 5 years too late as the front art. The history with these cabinets gets a little complicated. Fun Tecnic appears to be the manufacturer of the bezel and control panel...maybe? The bezel doesn't fit horizontally, so like with the War of the Bugs, I'll just need to do my own artwork for it. Great, that gives me a reason to get creative again.
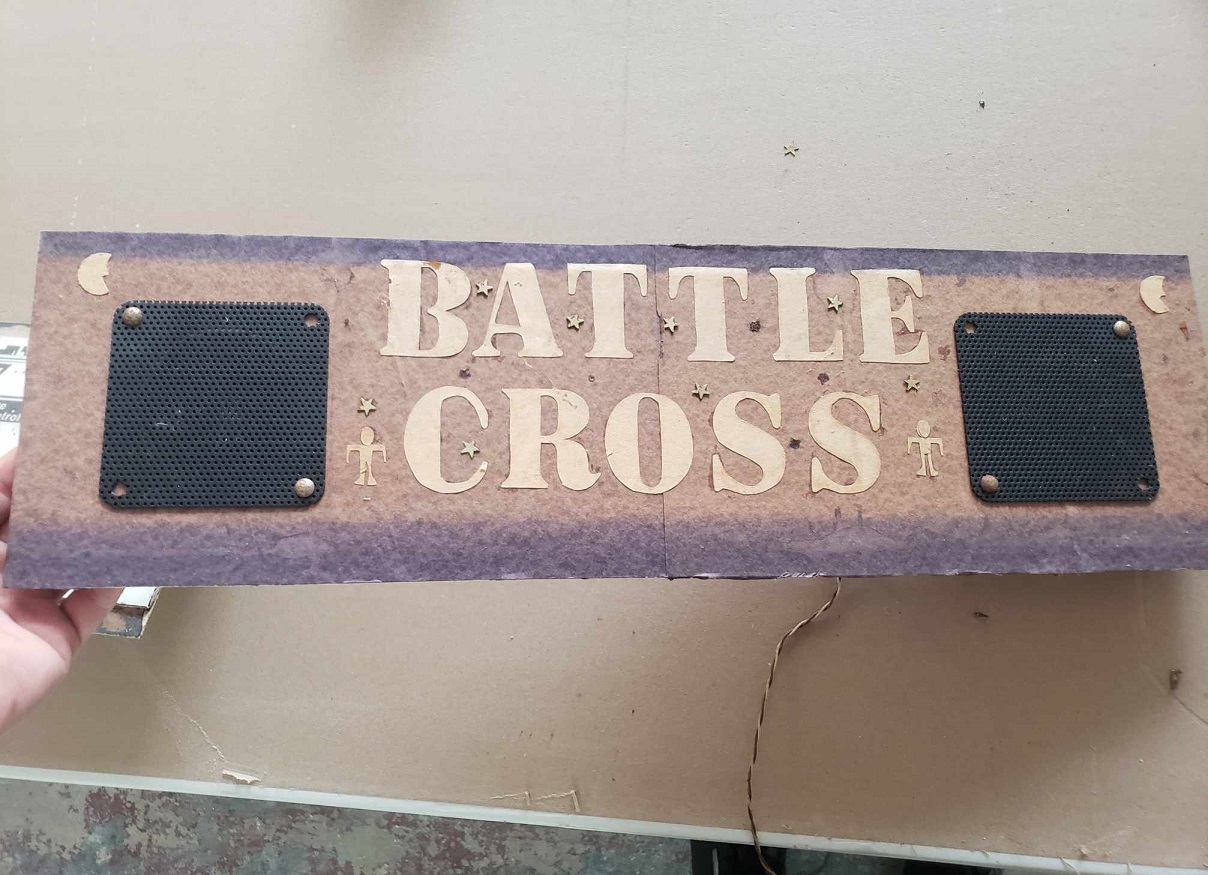
This one is easy street. The marquee that is in it has no text whatsoever. It's perfectly bootleg. Stenciling time. I vectorized the "Battle Cross" text you see at the top of this webpage, and stuck it to front of the marquee and with a little bit of white spraypaint, we came out with this result;
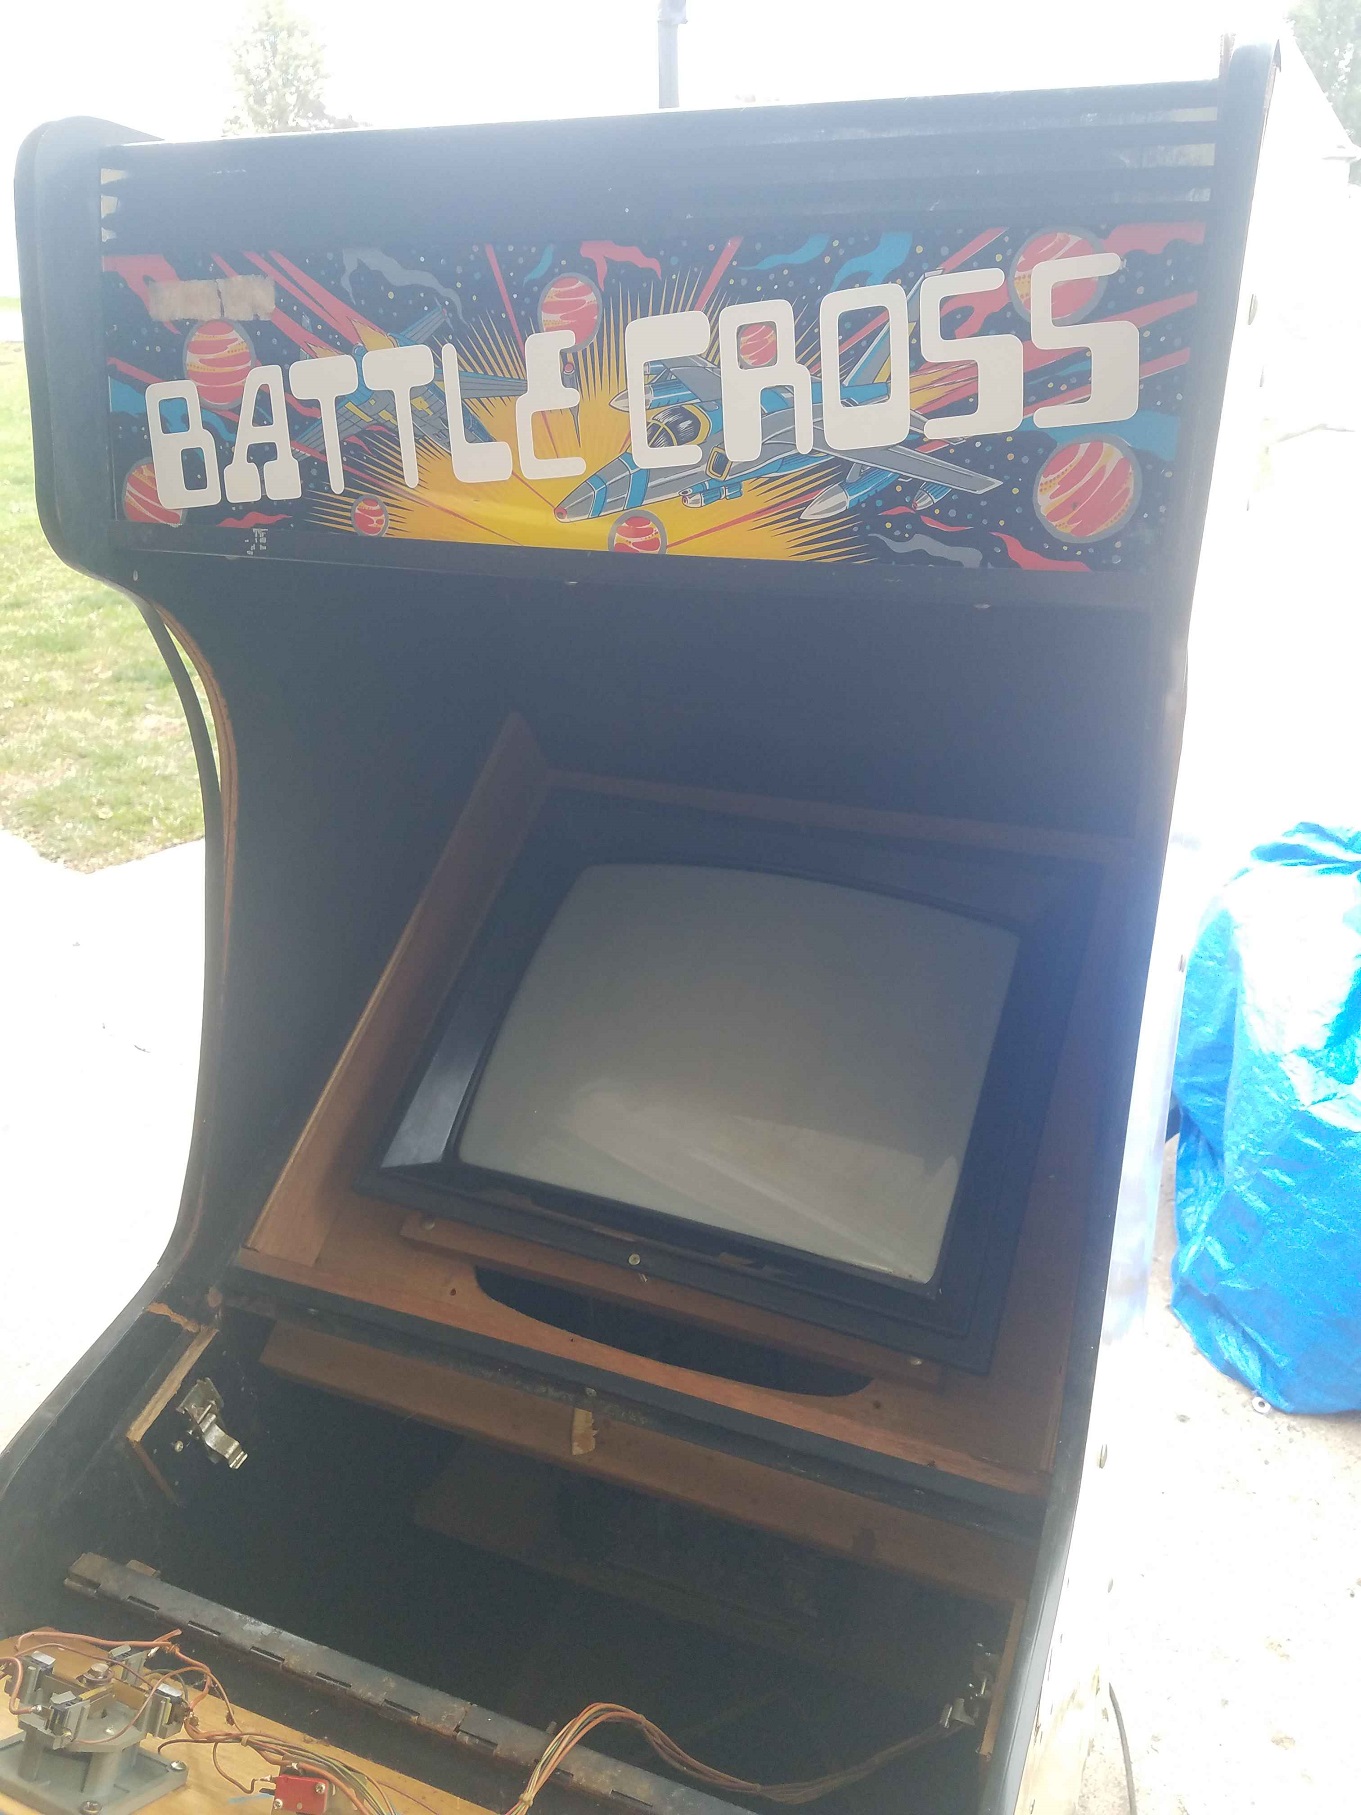
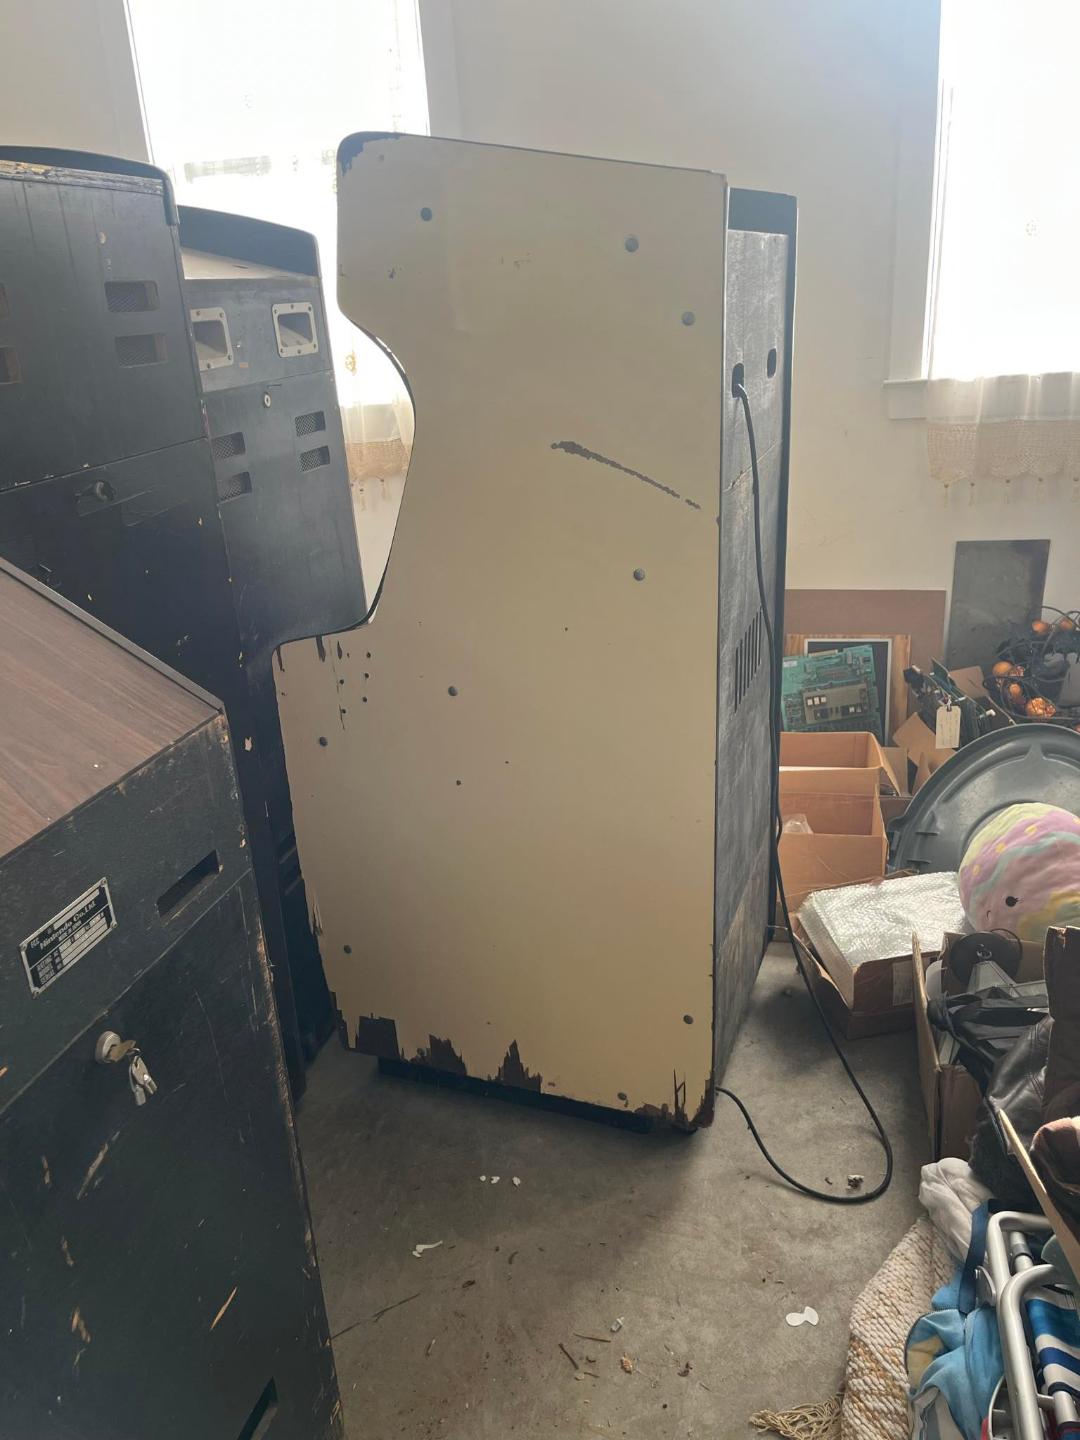
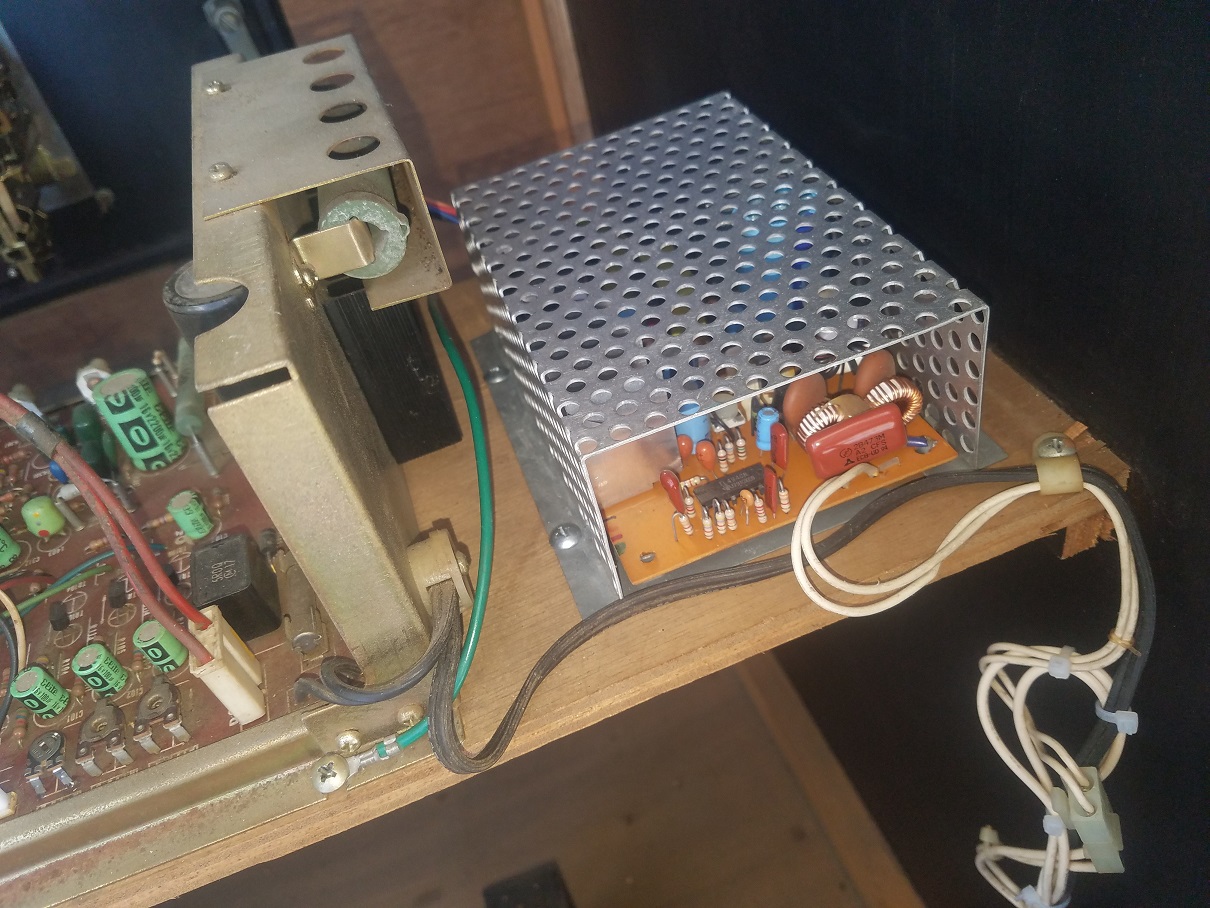
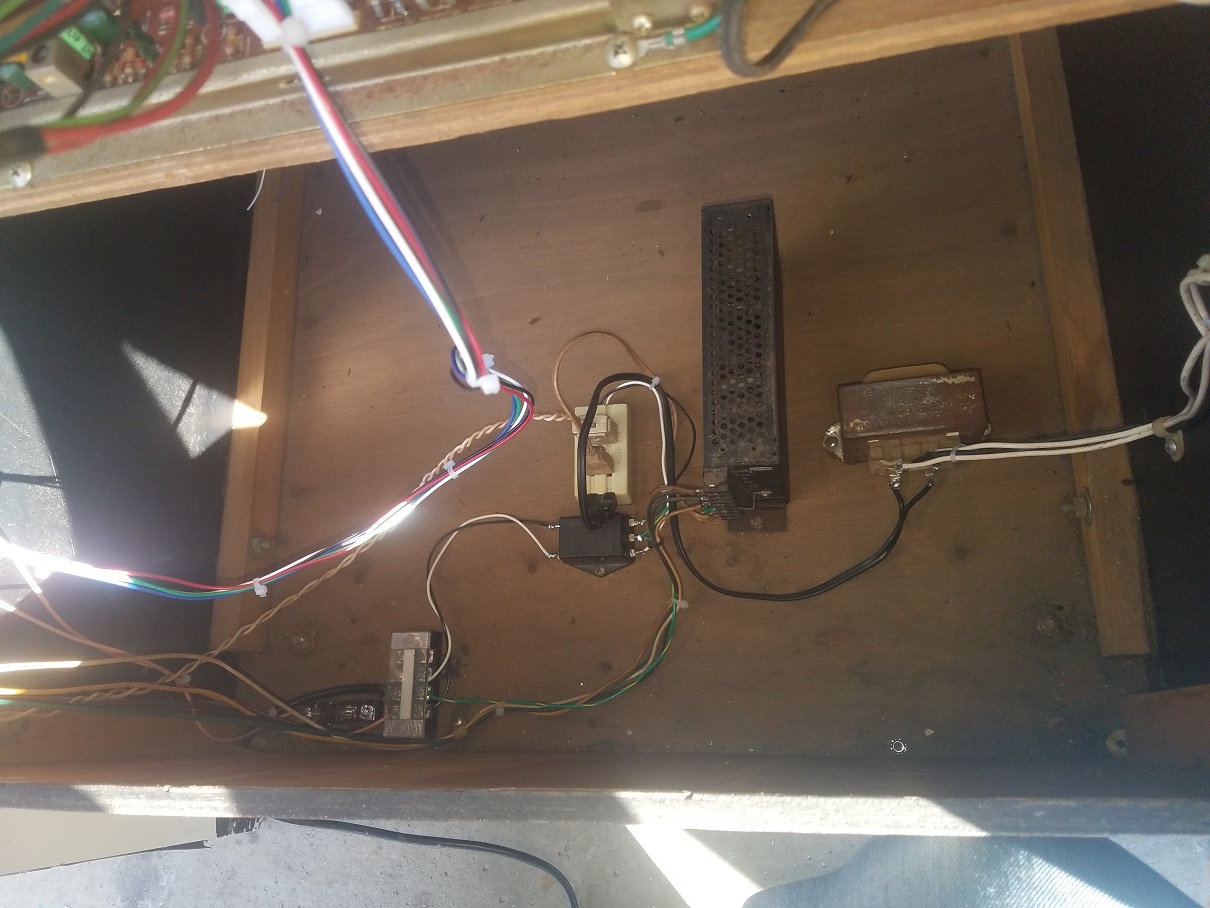
I also had to orientate the CRT horizontially, which it was cut to do that, just not the bezel. After orientating the monitor and shroud, I got a look at the lack of wiring within the cabinet. I bought the cabinet empty, except for the monitor, but for some reason they designed this cabinet without a fuse AND without an isolation transformer. What I found was a switching power supply, a 13" marquee ballast, an AC power tap, and a power switch. This is a disaster hazzard if something shorts. I spent a few days rewiring the cabinet, using brains to make it safer. Other than power stuff, the speaker was there, there was a DC power amp for audio, and of course the monitor.

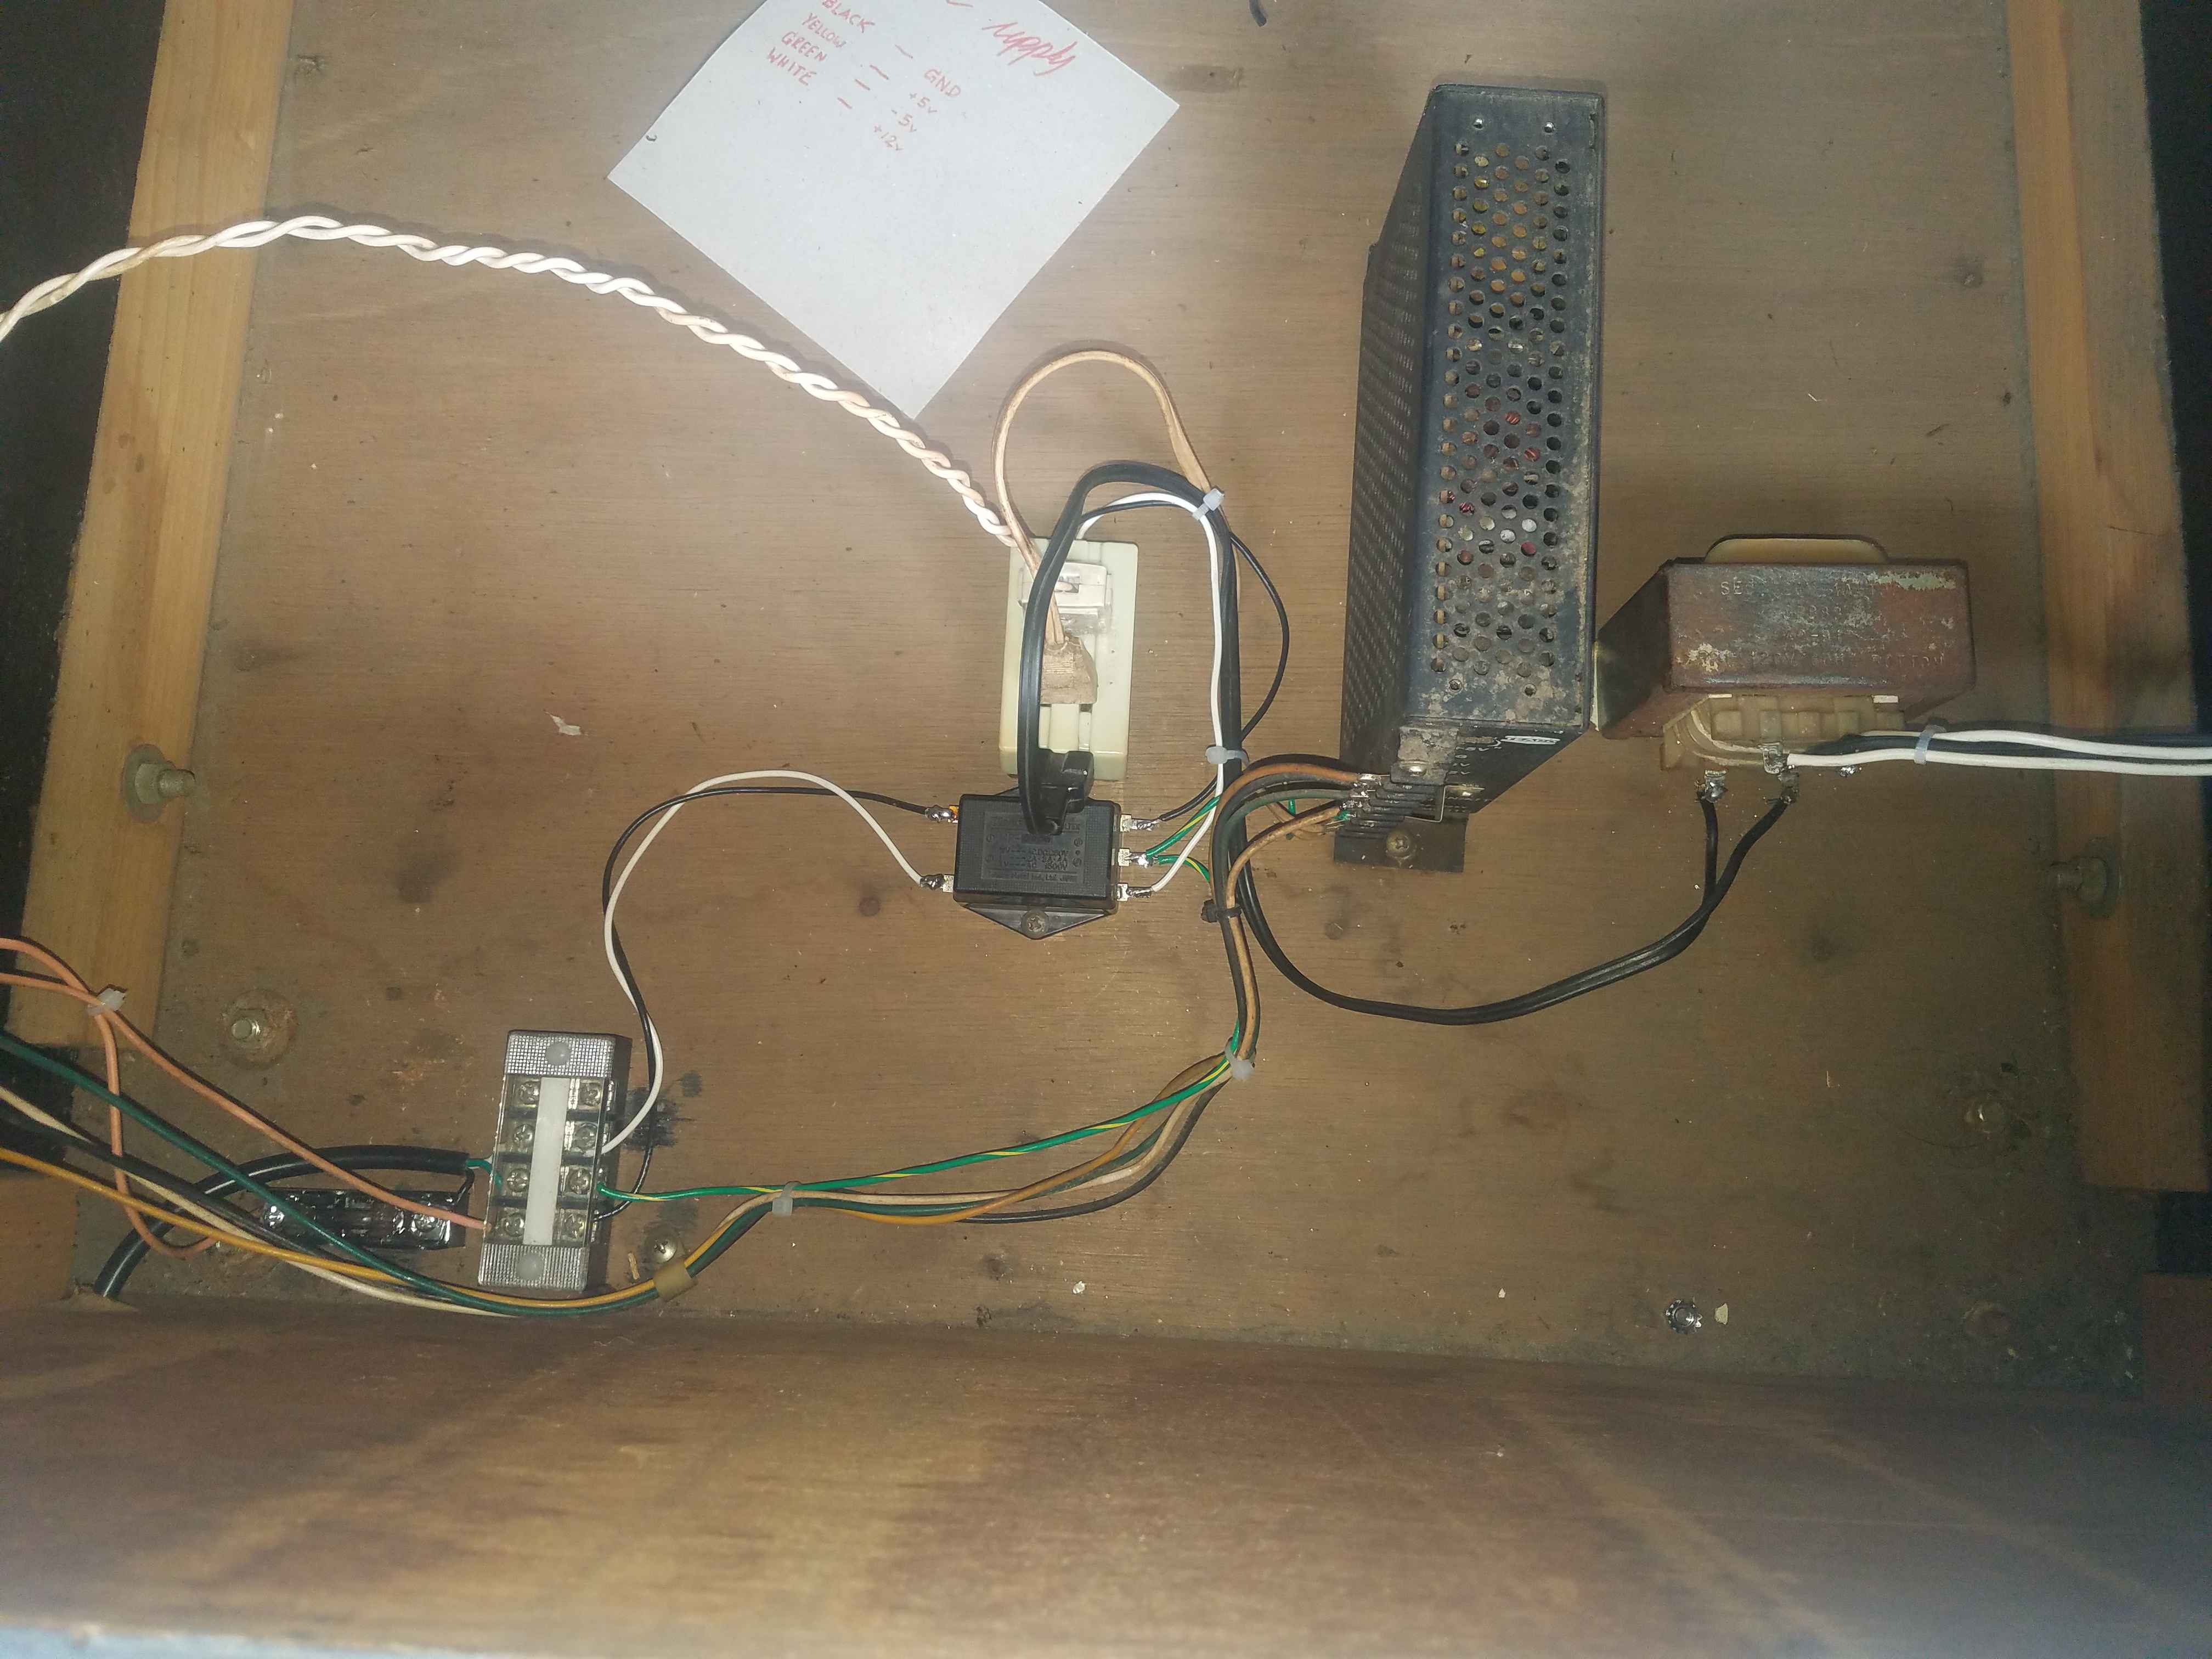
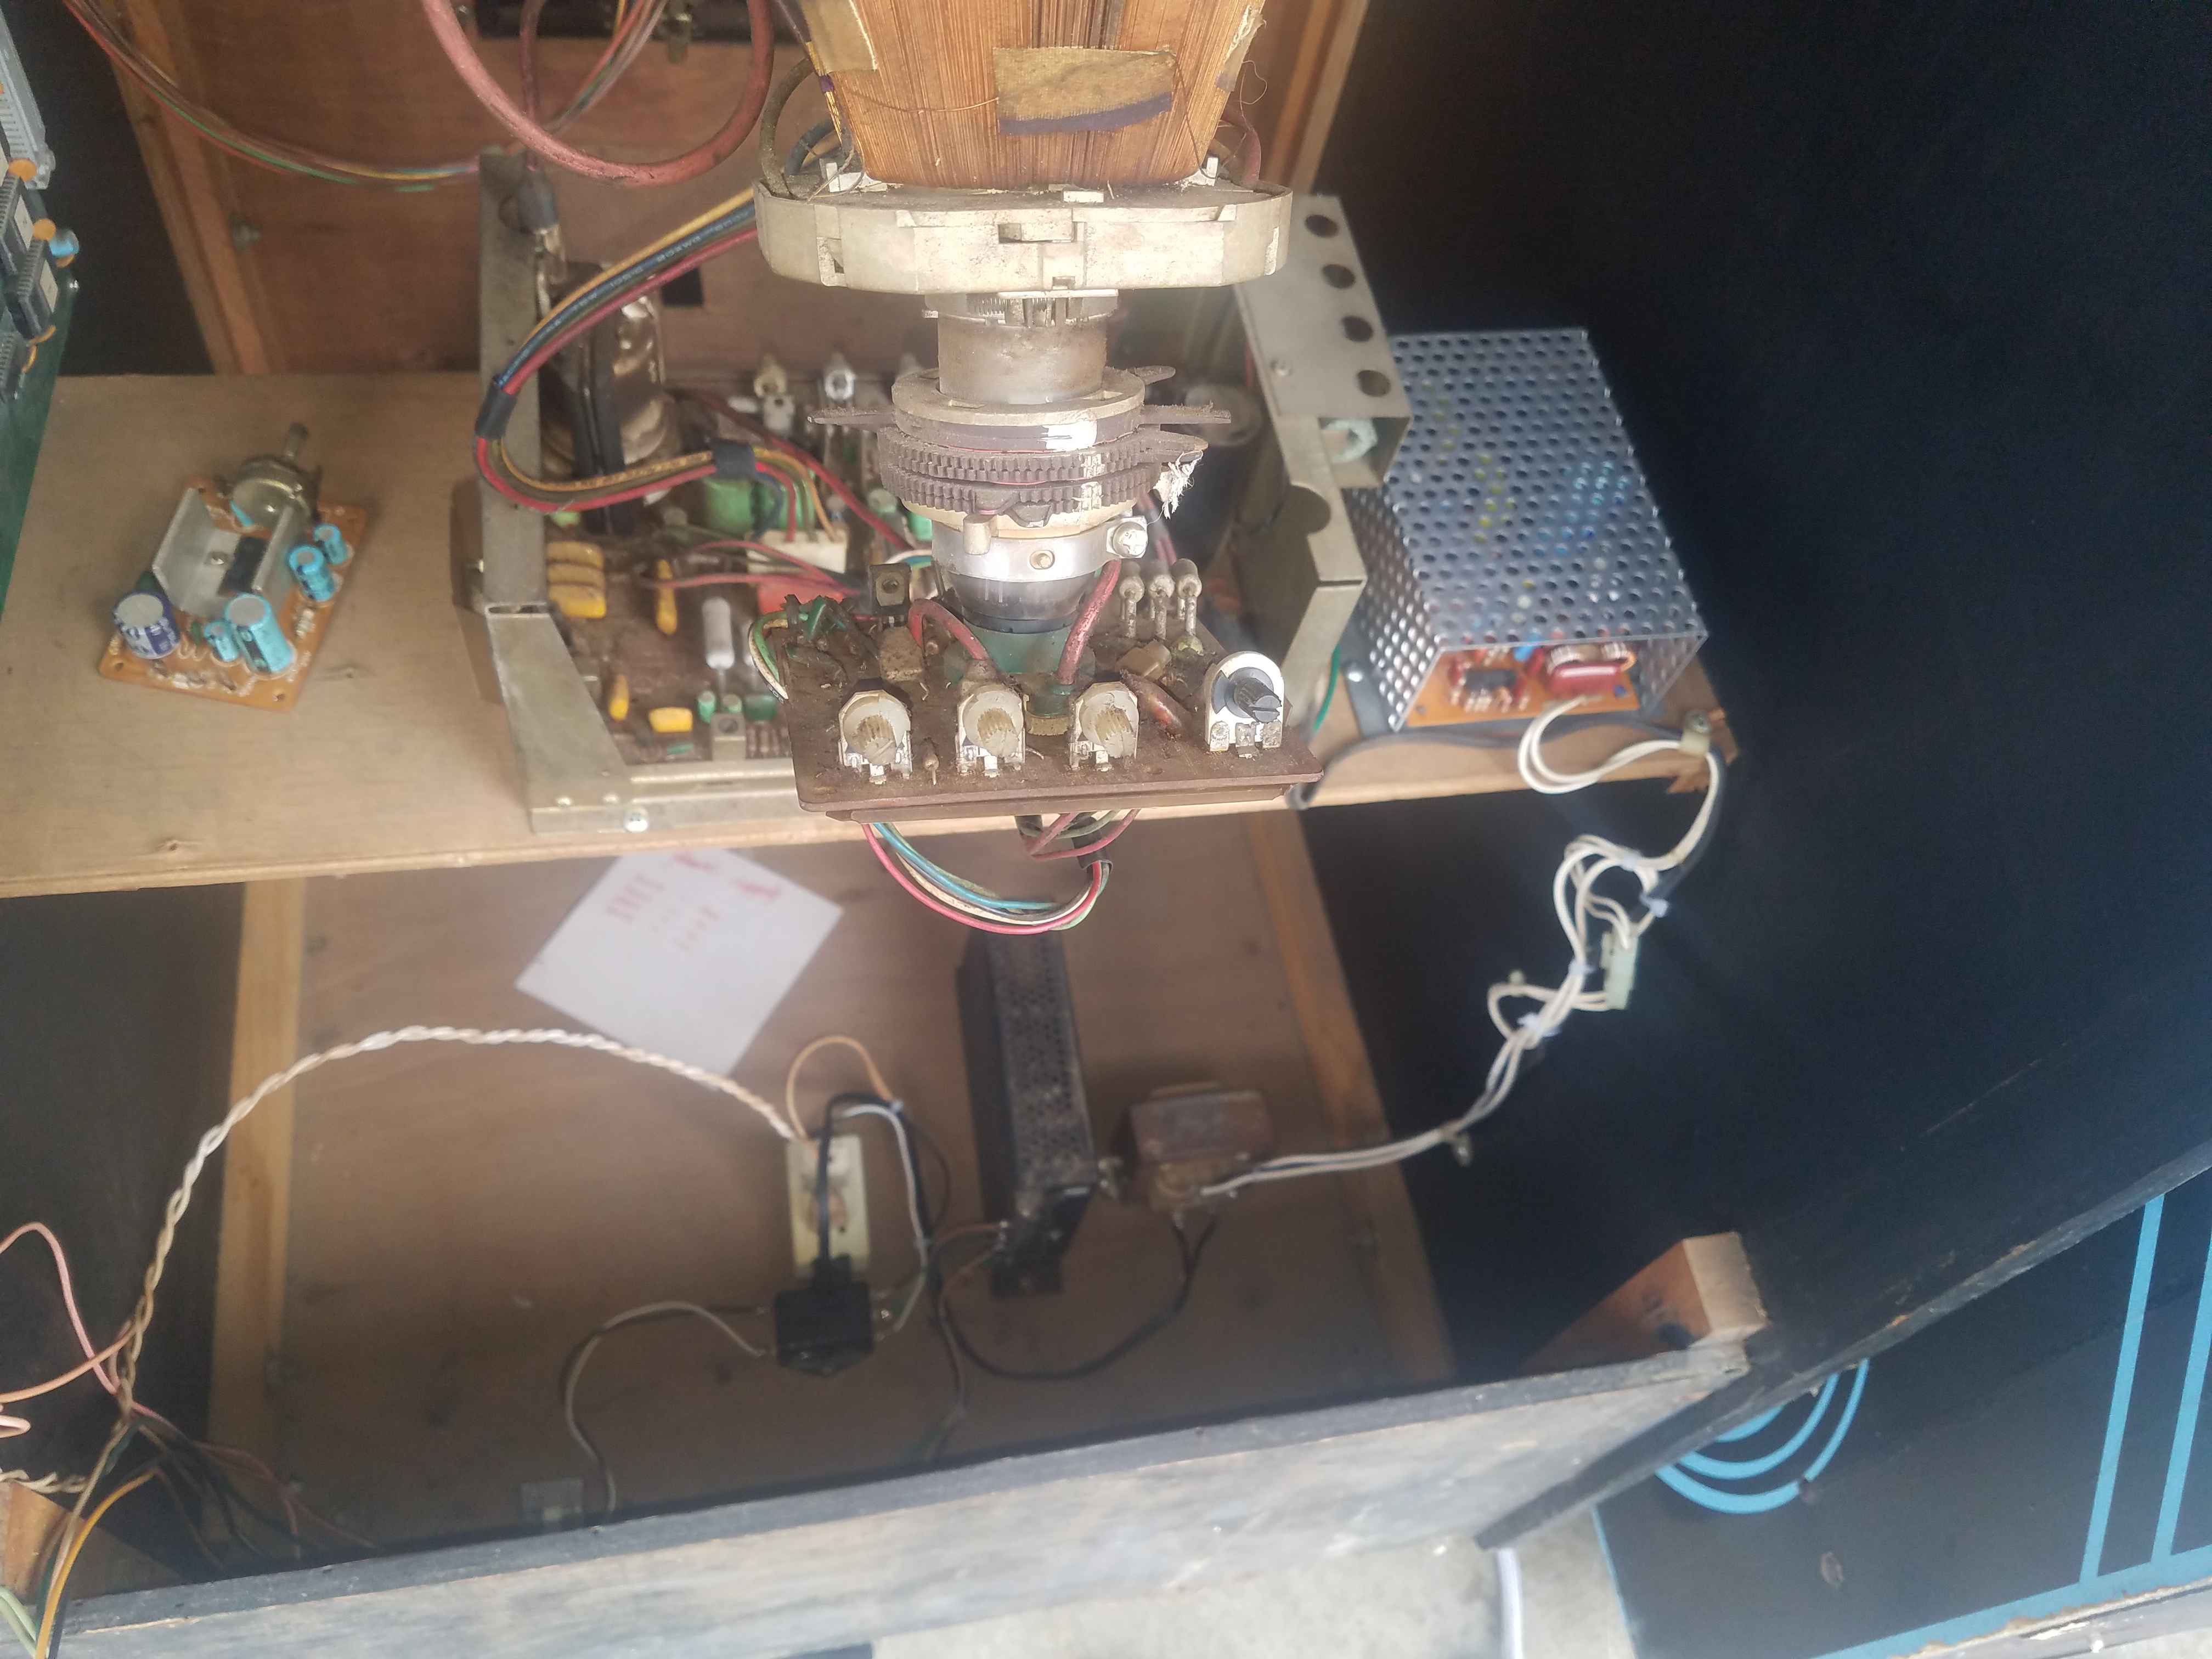
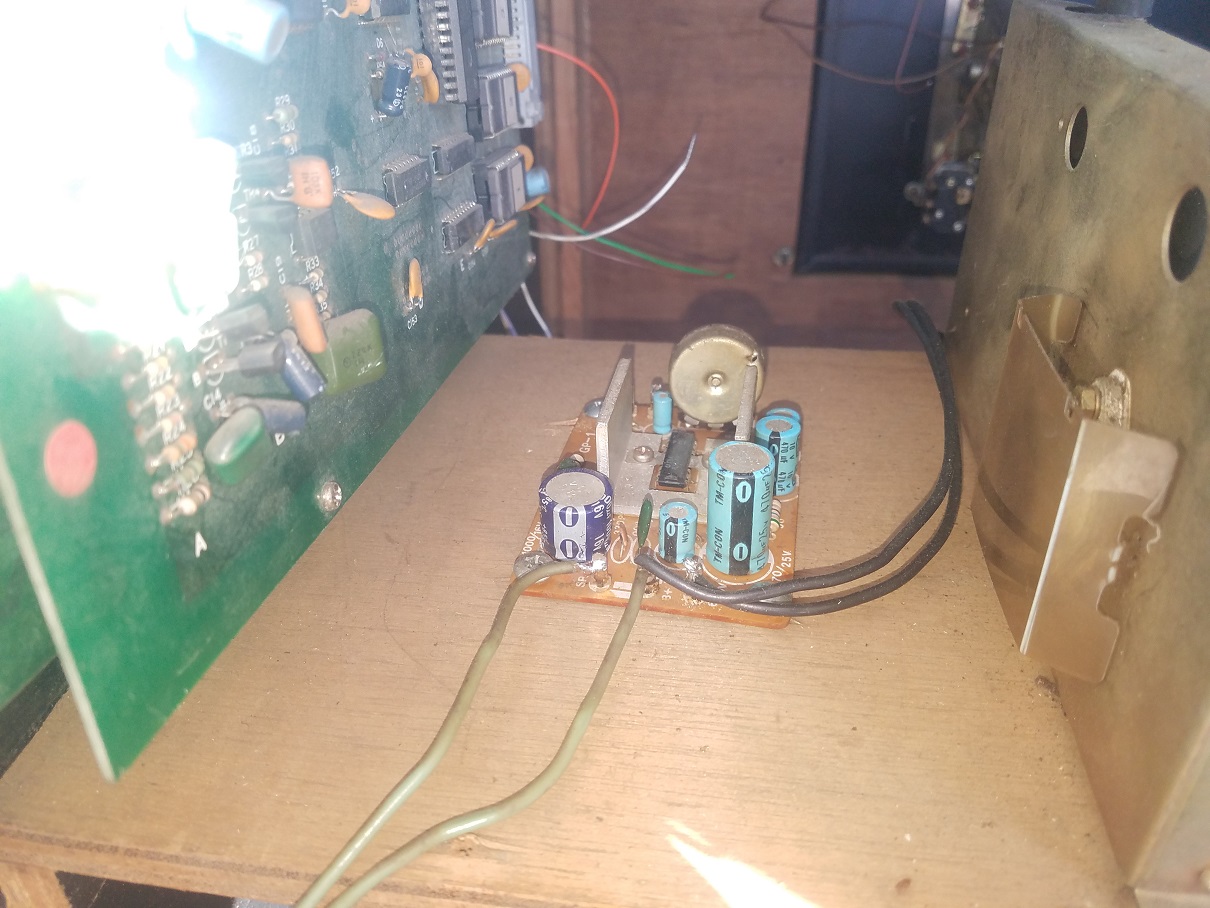
I used one of my fuse clips from Radio Shack, and used a barrier strip from a Nintendo cab. The game also didn't use an EMI filter, so I dropped a Tokin EMI filter I bought in a lot of parts from Japan. In that same lot of parts were a bunch of Konami Space King parts. The audio amp in this soon-to-be Battle Cross runs off the 12v tap on the switcher, which the board will also use for obvious reasons. I don't like the idea of having both hooked up to the same power supply in the event there is a fault. So I took the Space King power supply and mounted it next to the monitor and will route power to the amplifier that way. After I added the isolation transformer that should have been there from the start, I powered it up to see what happens. Funny thing was that nothing happened. The fuse didn't even blow. The power switch was off, but it was unlabeled. I labeled it, and threw the switch. The monitor definitely powered on. I stood there in anticipation waiting to see a raster but never did, I turned to the back, and there was definitely high voltage, the monitor just appears to have a raster killer circuit, which is honestly pretty impressive for a no-name monitor. Seriously, I have no idea who made this thing, but I'd love a schematic on it.
Working further to complete the wiring, I came across a type of monitor chassis that looked similar to mine, but not exact. It appears that my chassis an early type of ChungHwa chassis. I still cannot find a model number, let alone a schematic, but at least it's not a no-name monitor. I finished the external amplifier wiring (even if Battle Cross doesn't require one) and most of the harness. I still have to add the control panel wiring together, but the overlay was a little damaged when I purchased the cabinet. So, along with the bezel, I will also be making a control panel overlay to go along with the rest of the cabinet. The cable management by this point I'd say is approximately 85% finished.
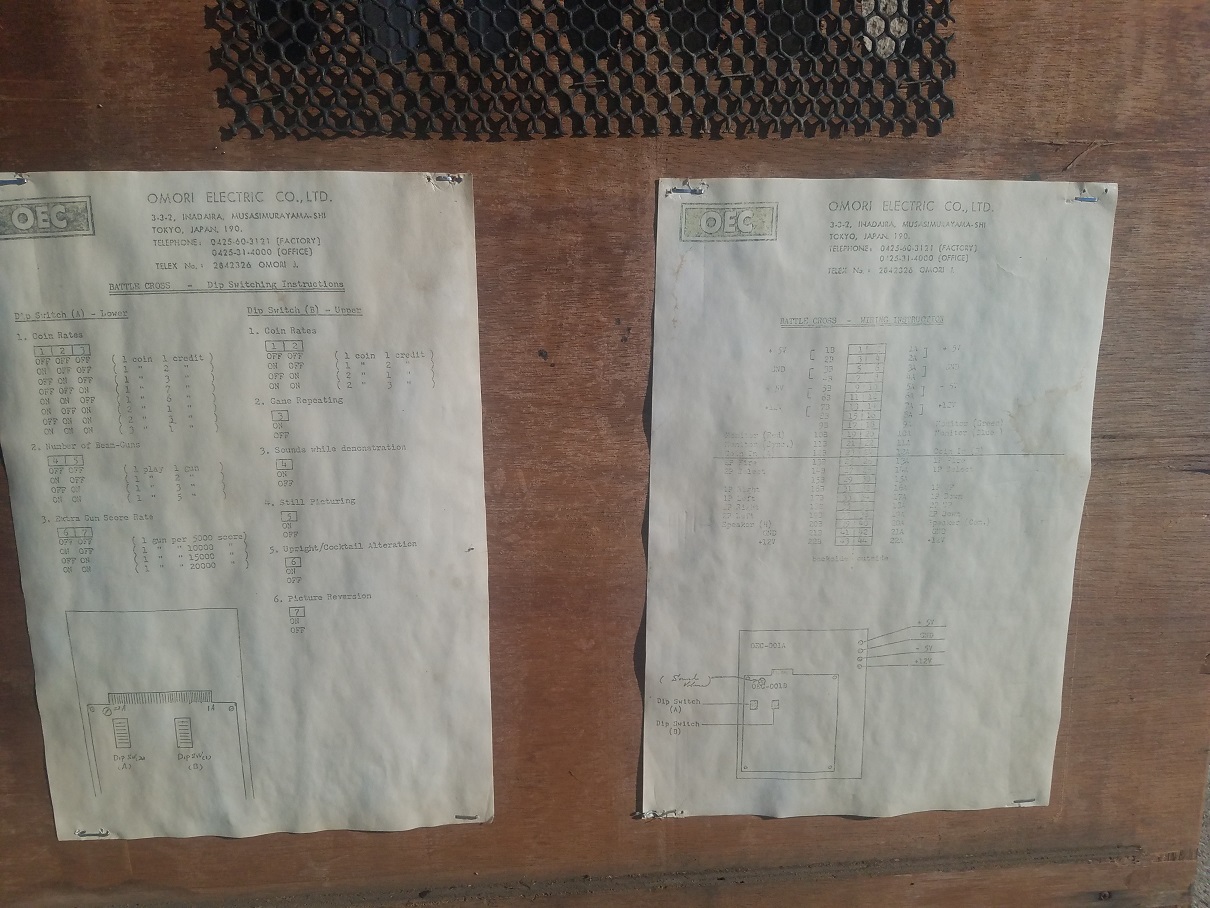
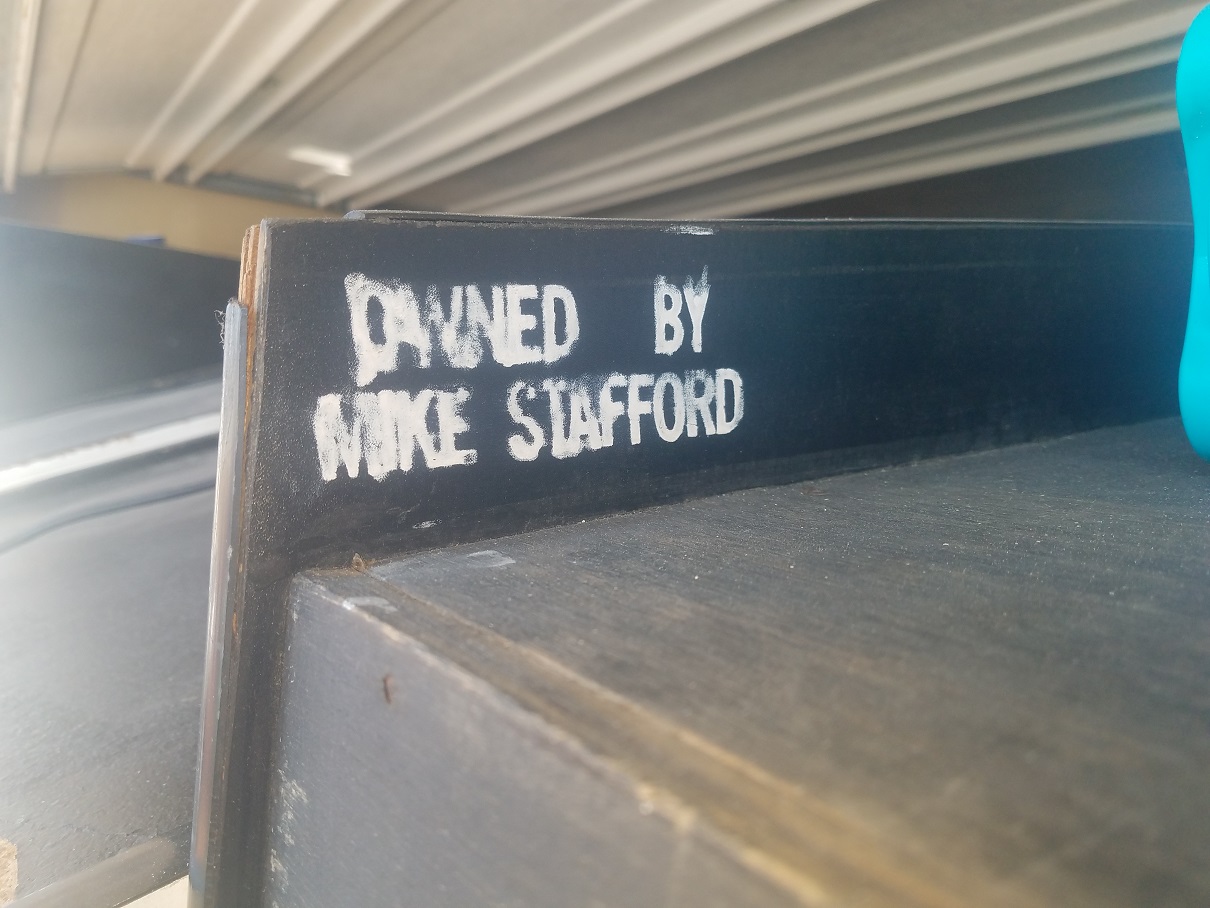
I'm a detail freak and I enjoy adding as must personality to these cabinets as possible. Along with the artwork, I also made back door sheets based on the original documents included with the PCB. The original documents were redrawn from pictures of them found on previous auctions of other PCBs. I think they turned out pretty good after I beat the papers up with coffee, dr. pepper, dirt from inside the cabinet, and tea. They turned out pretty well. If I didn't tell you they were something I fabricated, would you have assumed they were original? I'll be honest, if I didn't have images of those backdoor sheets, the new harness would have been a lot harder to find out. I had the original one, but it was kind of a mess. No shrink tube protection on the edge connector, either. Also another weird thing I decided to do was to put Stafford's name on the cabinet. Slightly out of sight, on the back left side of the cabinet. He had his name all over the other one, so I figured I should keep with it and do this as well. Part of the history. I purposefully overpainted it and withered it a little to make it look original, you be the judge of how well it turned out.
More to come